merry christmas from our family to yours!


May you all have a blessed and wonderful holiday, I am signing off until the New Year! 
Merry Christmas everybody!! xoxo

perler bead oven ornaments


I saw this pin on Pinterest awhile back and was super intrigued by the idea of melting perler beads in the oven. The pin isn't in English and even translated, a bit confusing so I decided to experiment and see if we could find a way to make our own ornaments with cookie cutters and beads this year.


We tried a few times but finally found that heating the oven to 250 degrees was the right temp to not completely melt and distort the look of the beads. I placed the cookie cutters on parchment paper after giving them a quick spray with cooking oil. The kids helped put a single layer in the bottom of each and I used a skewer to arrange them a bit (this tool was key and so helpful when I figured it out) it takes a bit of patience to cover the bottom.

I baked them for about 50 minutes in the oven (make sure they look like they are melted and stuck together) and then let them cool. Popped them out of the cookie cutters and added some bakers twine to the tops before displaying on the tree.

A pretty fun little project for the kids to do - Pinterest win I would say!


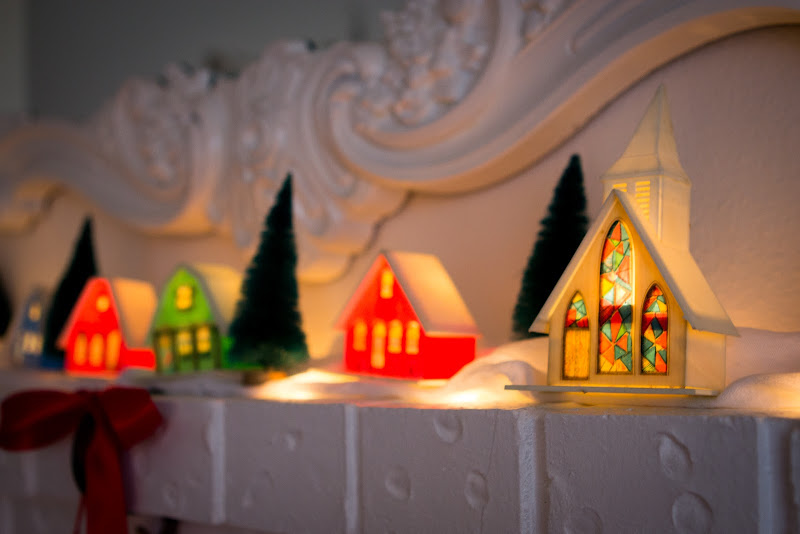
I am still working on my little bottle brush trees - I haven't had many free hands the past few days - little Zeb is sick and has literally the worst, most persistent diaper rash I have ever dealt with. We are talking up every hour or two in the night even screaming in pain. Anyone out there with any tips on treating the worst sort of rash this tired Mommy would be so appreciative I feel like I have tried it all!

Hope you guys have a great Friday...I can't believe we only have four more days until Christmas! I will be back with more tree pictures I promise!

10 last minute (easy) handmade gift ideas

Just in case you are still looking for a quick and easy homemade gift idea, these are a few of my favorites from the past few years...


Have you made any great gifts so far this year? I would love to see if you have, leave links in the comment section!

a giveaway with elevate the everyday


Last week I shared Tracey Clarks new book, Elevate the Everyday with you guys and I am so super excited that she has generously sent over copies for three A Bit of Sunshine readers to enjoy just in time for the holidays too!! If you would like a chance to win simply leave a comment  on this post and I will choose a winner on Sunday December 23rd! 


I can not believe we are less than a week away from the big day...I will be back later on with a roundup of last minute homemade gift ideas! xoxo

dyeing my vintage bottle brush trees


Well now that's addicting. Good grief did I have fun dipping a few of those white trees into some pink dye this afternoon. This took about half an hour during which I was also picking up the place...I am officially a bottle brush tree addict! Next up glitter, glue and gems - do not think I am beyond putting my real swarovski crystals on these babies...


If you are following along on my tree journey (he he) then here is what I did today to make them pink. I simply put hot tap water into a Pyrex with a bit of liquid Rit dye (fuchsia) and stirred. Then I poured some of the dye into two tall glasses and turned the trees upside down in each letting them sit anywhere from 1 minute to about 15 minutes...rinsed with cool water and set them to dry!

bleaching my vintage bottle brush trees


Oh how I have wanted to do this for so long! I bought a big bag of vintage bottle brush trees a few years ago for a couple of dollars at the thrift store and have imagined them in white ever since. After seeing many tutorials around recently I finally got the guts to go for it this morning and am loving the results so far!


I simply put them in a bath of water with a generous splash of bleach and let them soak, using some tongs to stir them every now and then. At about fifteen minutes I took those two light green ones out because I loved the color they turned but the rest stayed put for about an hour and a half until they were all creamy white. I rinsed them in water and set them on a tray to dry.

Later in the week I will share how I decide to decorate them...I have plenty of glitter and beads ready for a quiet moment to play!

the Olson Family


I had so much fun with this beautiful family on our mini shoot session last week! The cutest kids ever cracking me up the entire time, I was in heaven getting to know them a bit during our short visit at Lincoln Park in West Seattle. At one point Toni and I were talking about life with little ones super close in age and I just felt like I wished we could go grab a cup of coffee and hang out all afternoon...a fast friend in this gorgeous mother I was super blessed by our time together and look forward to seeing them again!

PS. I learned a few things on the shoot...first of all I have a ridiculous baby voice when I am in the middle of photographing little ones. I swear I NEVER use a baby voice any other time - ha! And um, bringing backup memory cards is kind of important...whoops, luckily they were the sweetest with me and I don't believe I will ever do that again! :)

PPS. Nissa - you are the winner of the Linkel Designs Giveaway, congratulations!!

kid friendly white chocolate peppermint fudge


Quick and easy for little hands to help - this peppermint fudge recipe was found in an issue of Family Fun magazine and is definitely Josie and Levi approved!

White Chocolate Peppermint Fudge

2 bags of white chocolate chips (24oz)
1 can of sweetened condensed milk (14oz)
1 cup of crushed candy canes
pinch of salt and 1 tsp of vanilla

Melt the chocolate and condensed milk over medium low in a double boiler. Once smooth stir in the vanilla, salt and peppermint candy (leave a bit of candy canes to sprinkle on top). Pour into a parchment lined 8x8 square baking pan and refrigerate for a few hours until hard. Cut into squares and share!


Ten on Ten :: December 2012


Such a fun day - I can hardly believe that this is the close of the FIFTH year for me and this project and for many of you guys too! I love this monthly ritual, I love sharing life with you and can't wait to see how your day looked today. Thank you to all of you have supported and joined me in capturing the beautiful mundane each month on the tenth it is always a blessing. Looking forward to continuing this project in 2013!

If you haven't had a chance to add your set you can do so HERE the linky will be open for the rest of the week! Find out more about the Ten on Ten project HERE.
Related Posts Plugin for WordPress, Blogger...